Receive a storage item
Enter what comes off the truck, one piece after another, and print its label.
Who can do this: Storage, Admin
Open the form
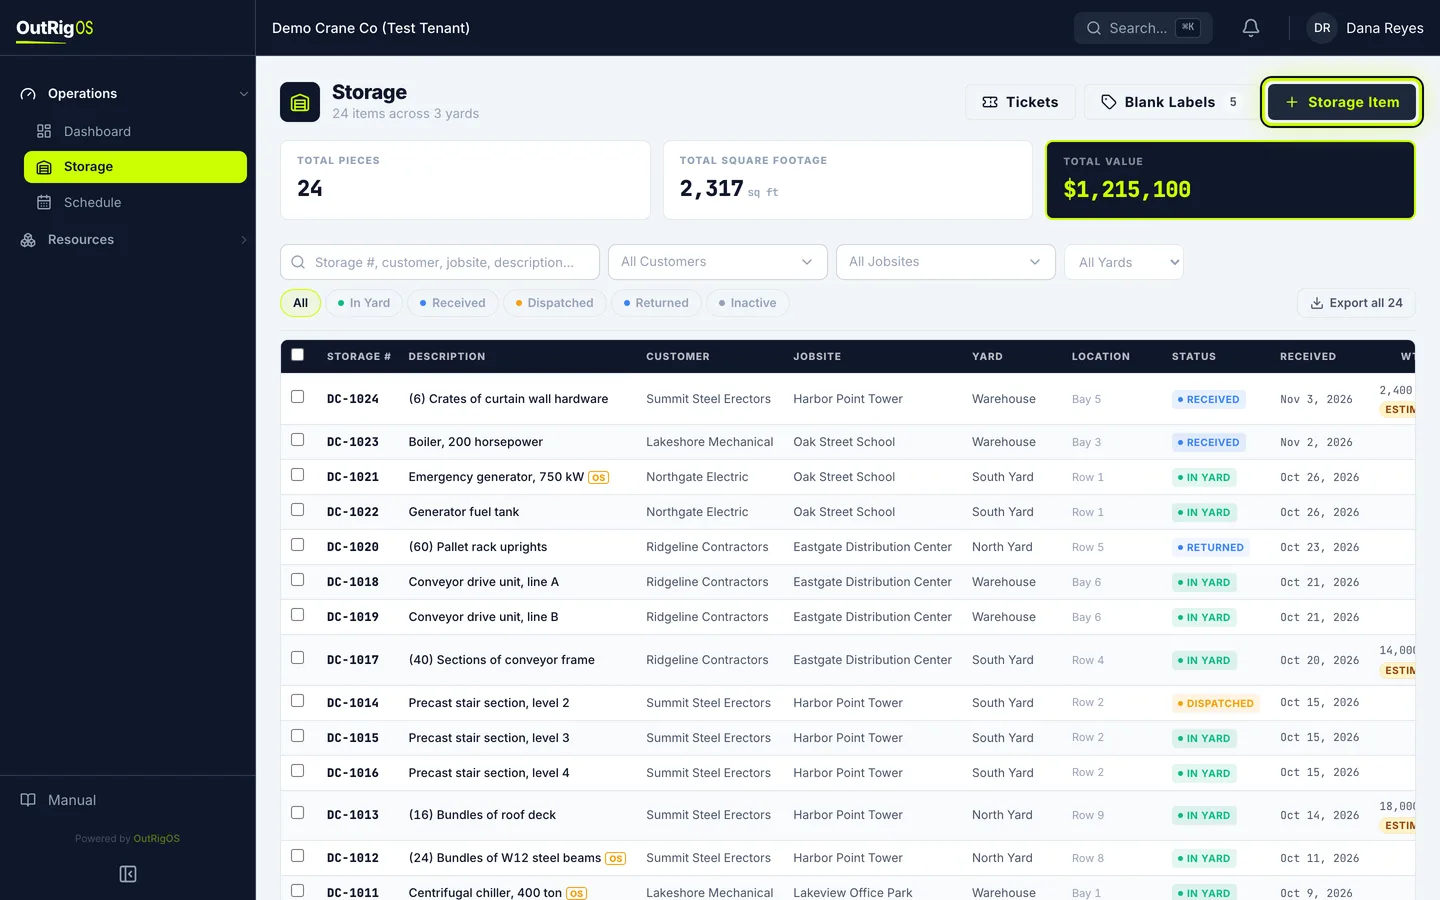
In Storage, click Storage Item.
Choose the number
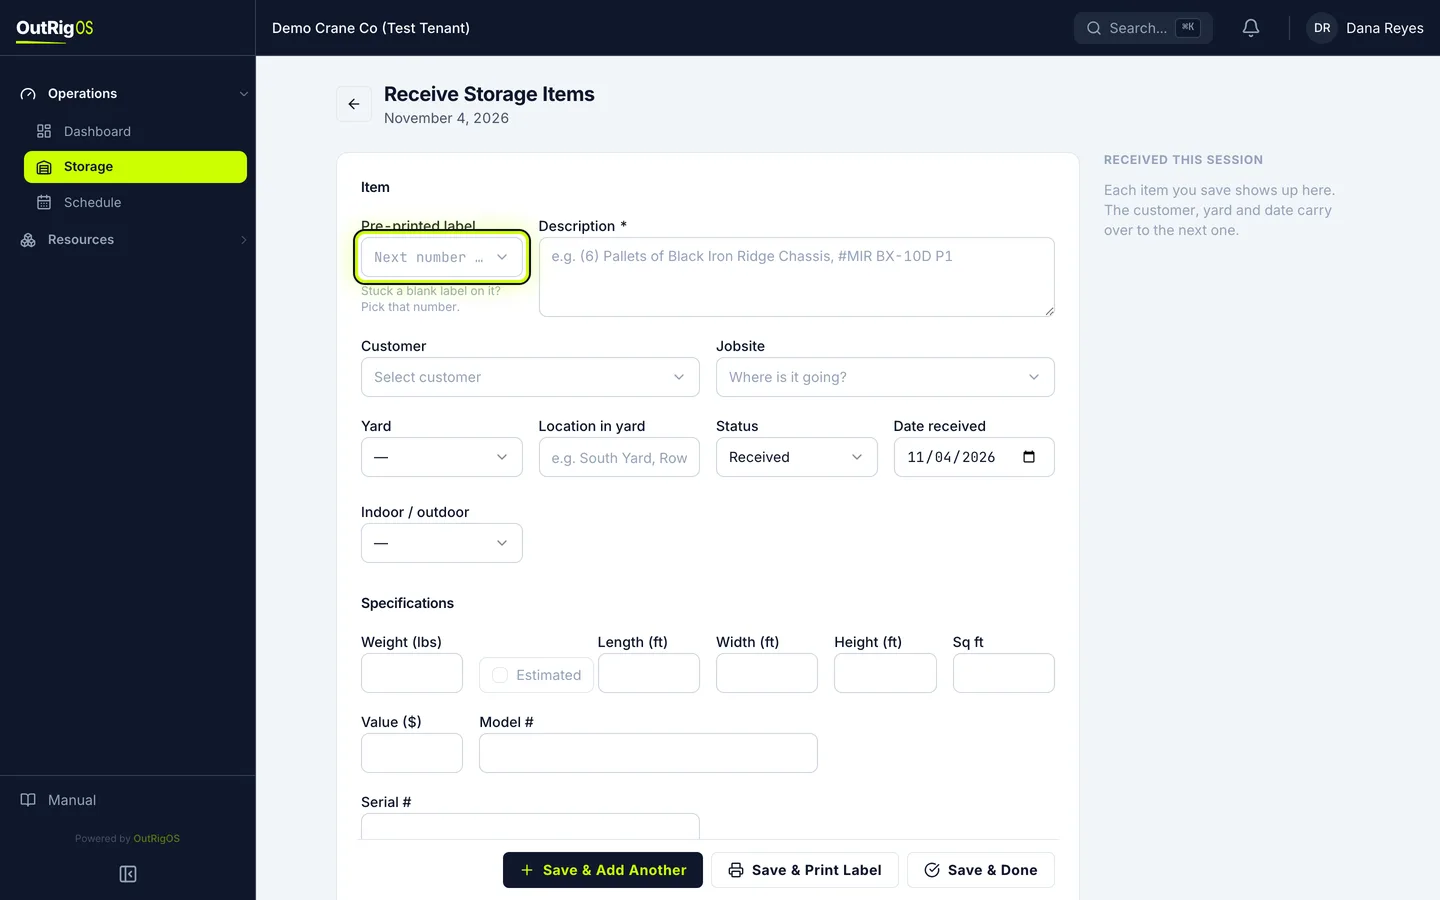
If you already stuck a blank label on it, pick that number in Pre-printed label. If not, leave it, and the item gets the next number.
Describe it
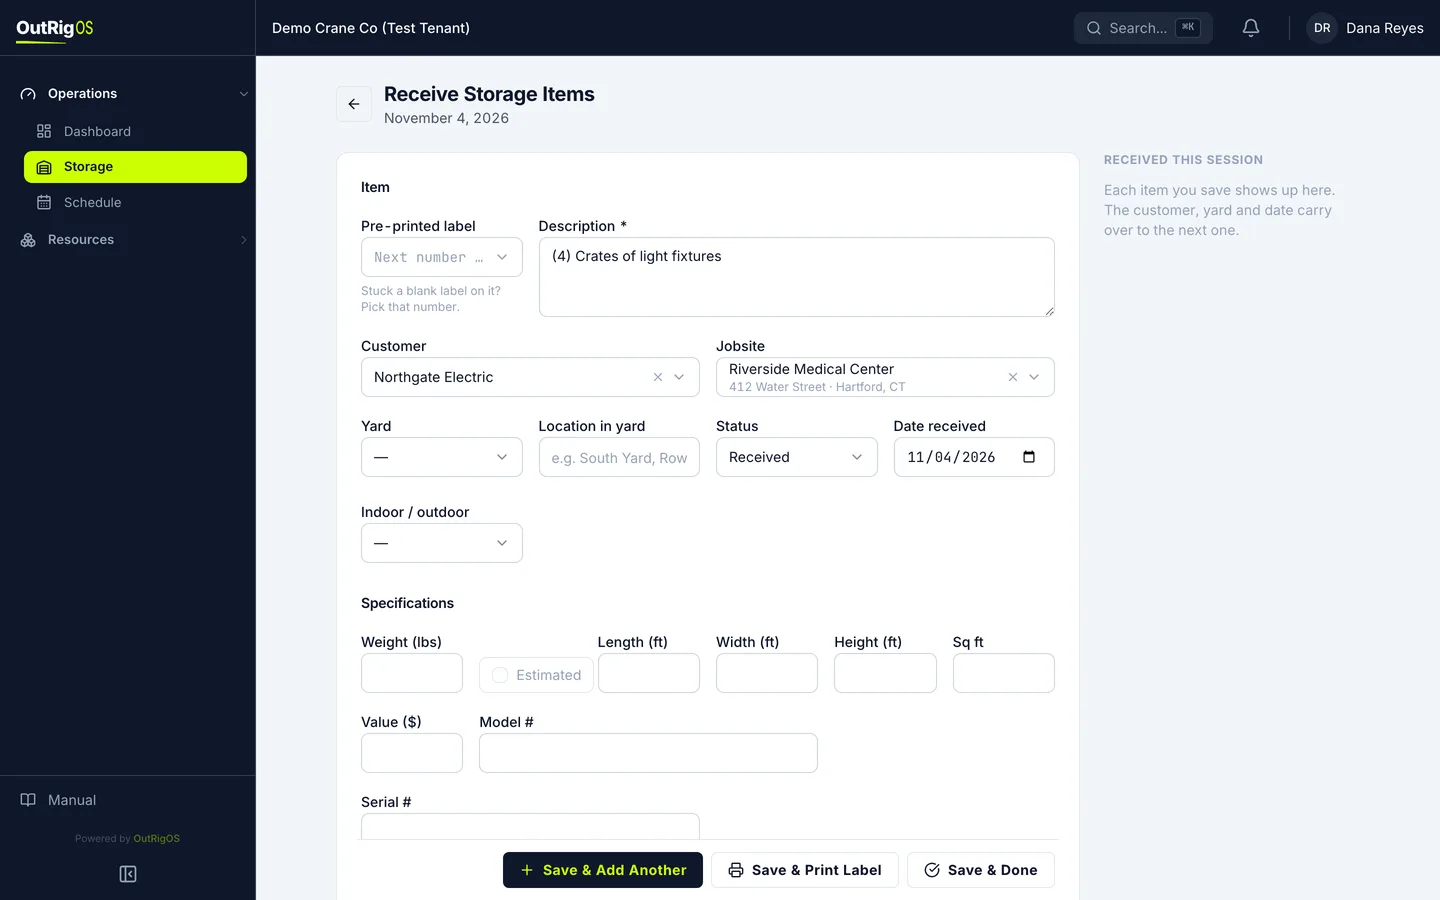
In Description, say what it is so anyone in the yard would know it.
Pick the customer and jobsite
Pick the Customer, and the Jobsite it is headed to.
Say where it is
Pick the Yard, then say where in the yard you put it under Location in yard.
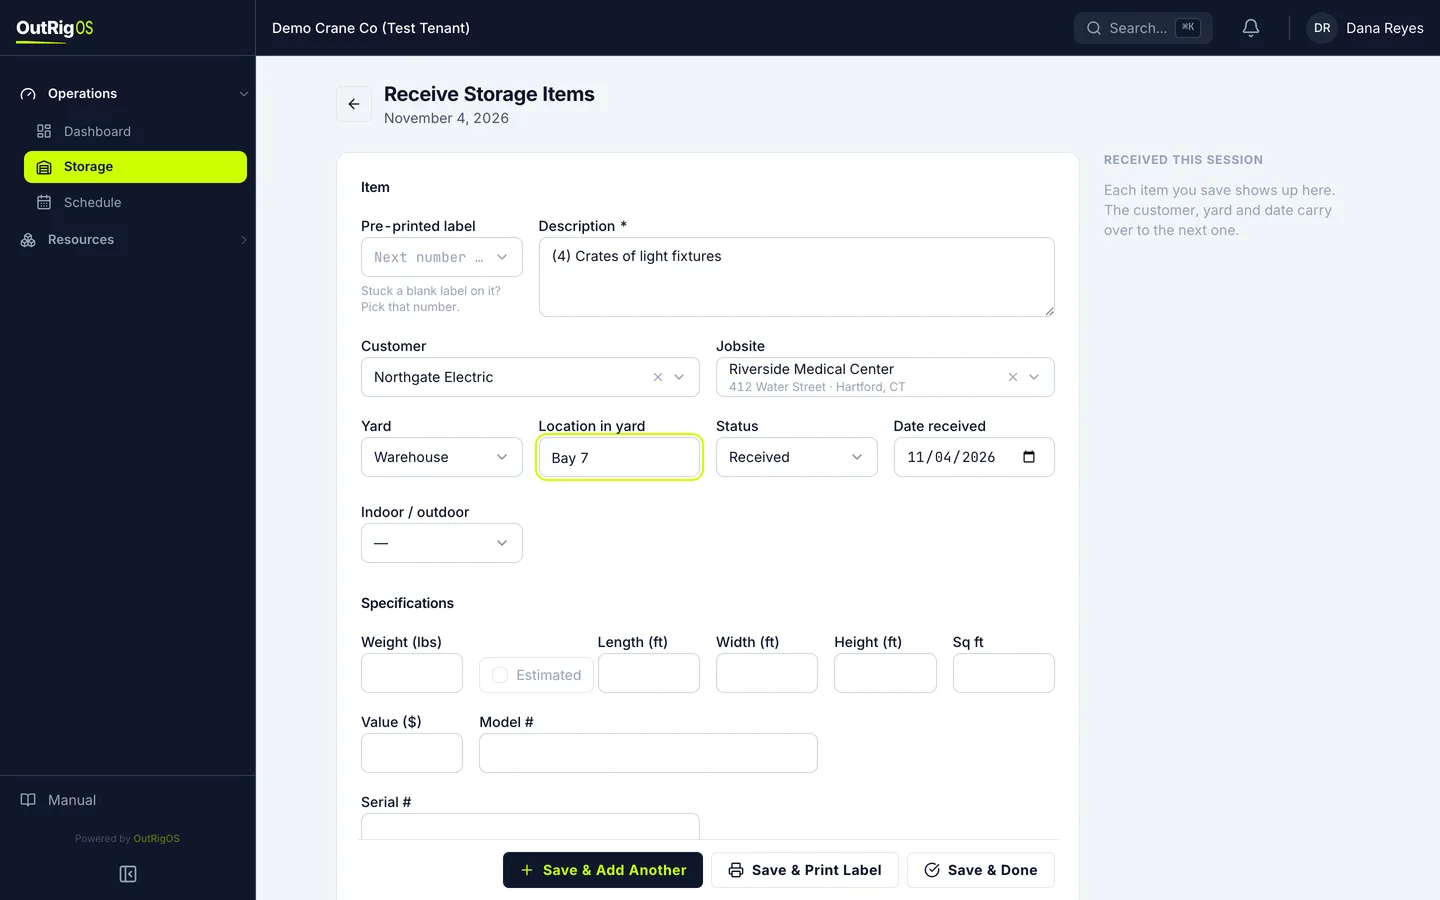
Check the status and date
Status starts at Received. Change it to In Yard once it is put away. Date received starts at today. Then set Indoor / outdoor.
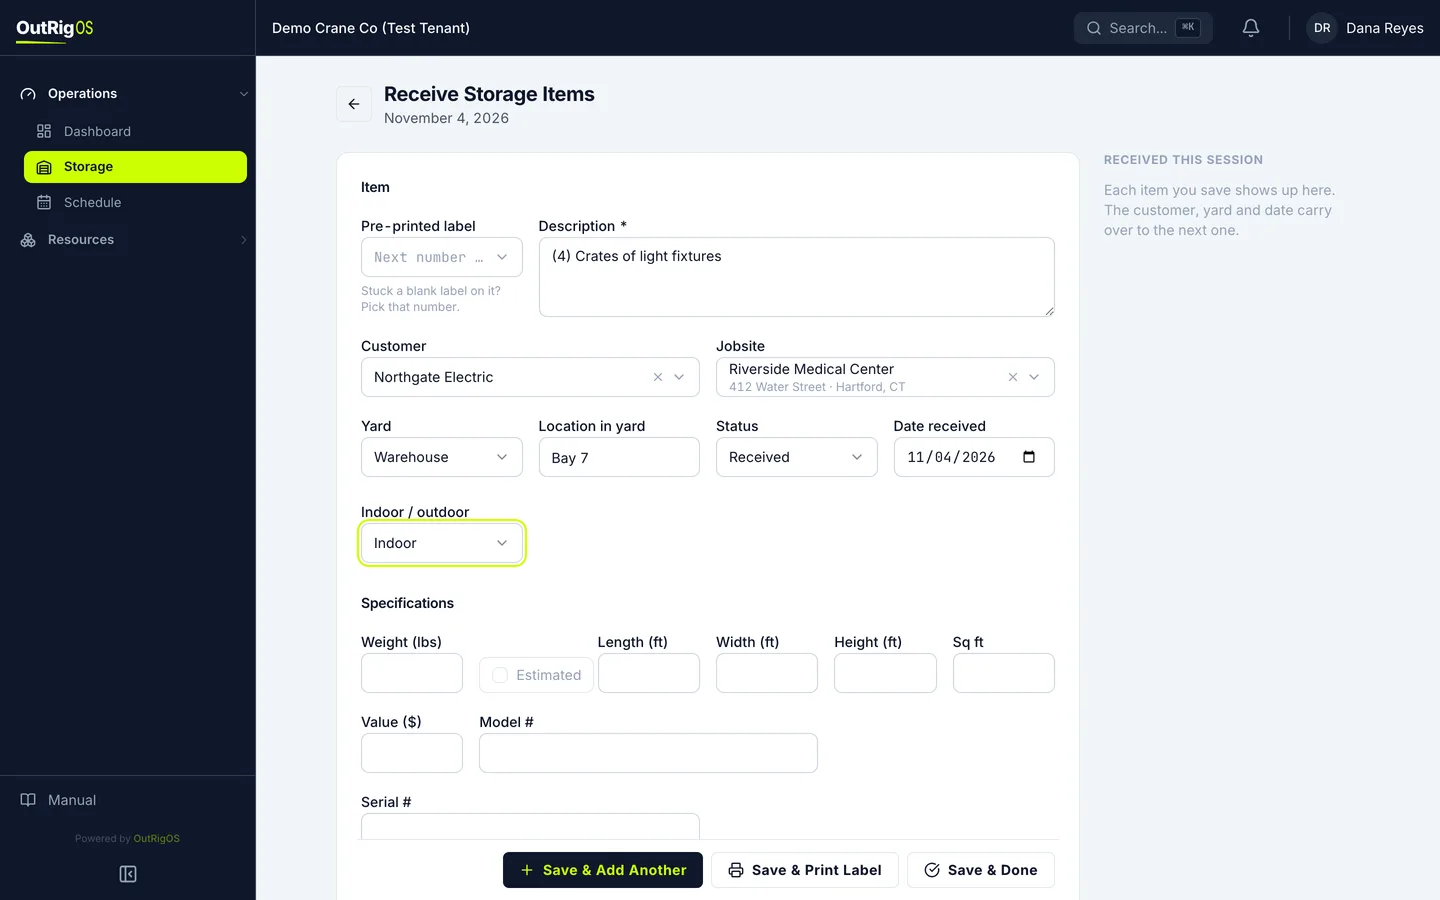
Enter the weight and size
Enter Weight, Length, Width and Height. If the weight is a guess, check Estimated, so nobody picks a crane off it as if it were weighed. Sq ft fills in from the length and width.
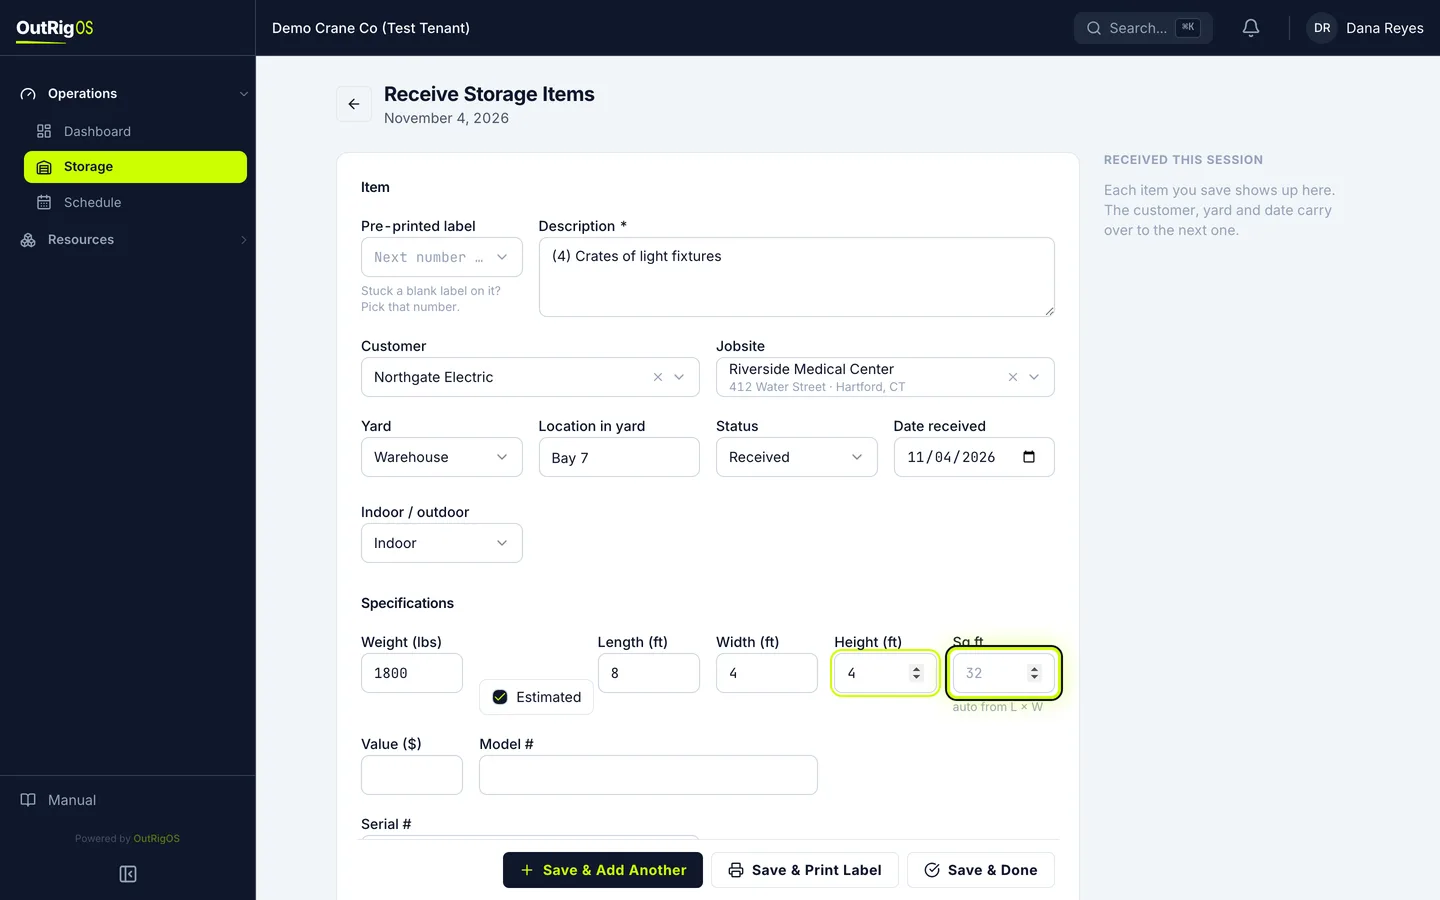
Add the value and numbers
Add Value, plus Model # and Serial # if it has them.
Note its condition
If it came in damaged, check Damaged and describe it. Check Oversize if it needs special handling, and add any Pick points / rigging.
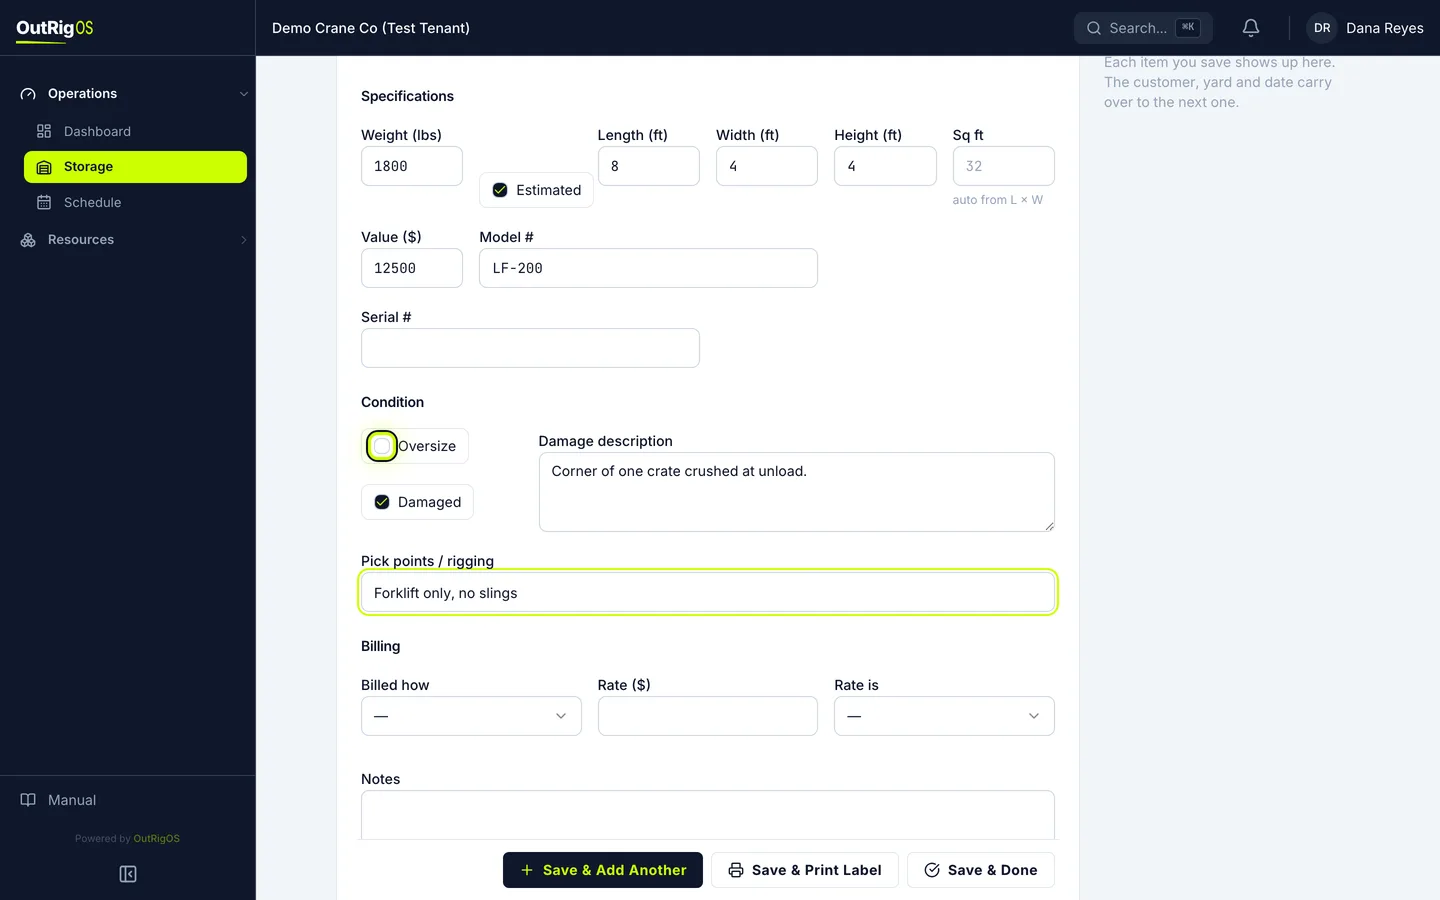
Set the billing
Under Billing, pick Billed how, then enter Rate and pick what the rate is per.
Value and Billing show only for people allowed to see pricing.
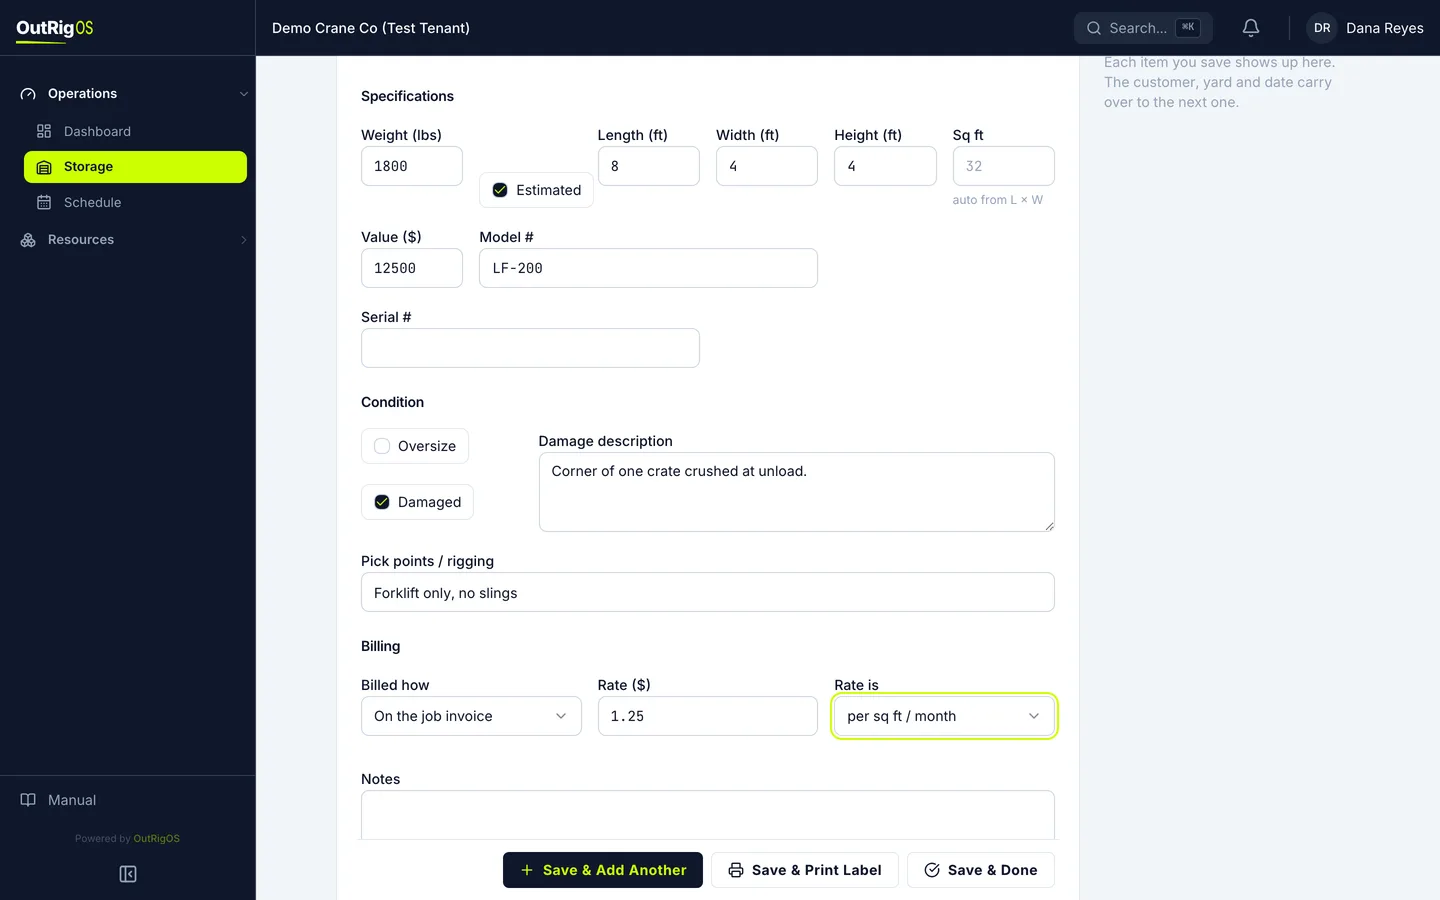
Save and add another
If more came off the same truck, click Save & Add Another.
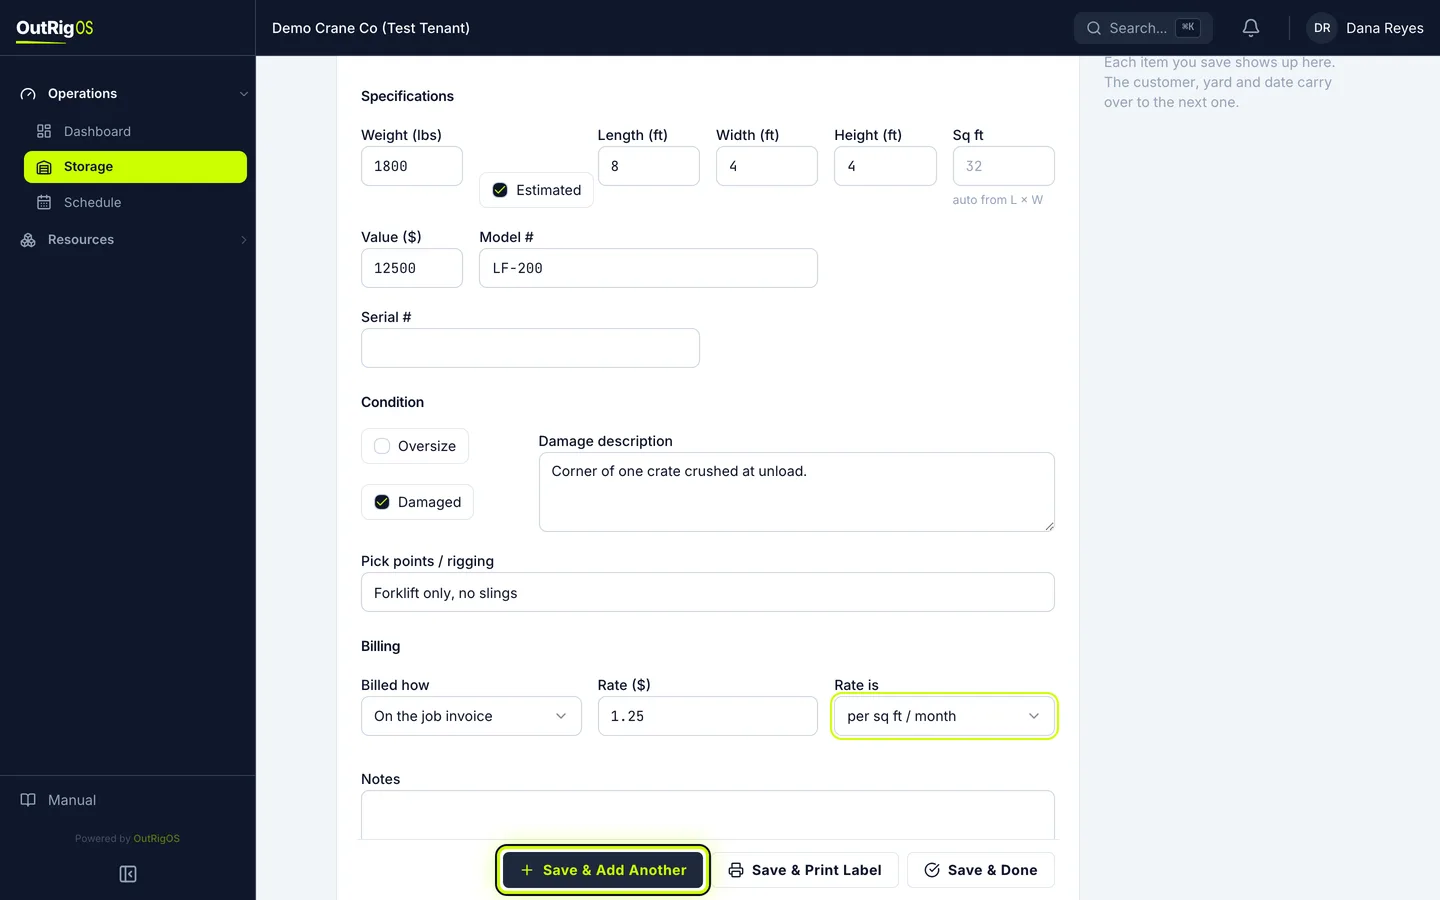
Do the next piece
It shows up under Received this session. The customer, jobsite, yard and date carry over. Enter the next piece, then click Save & Print Label.
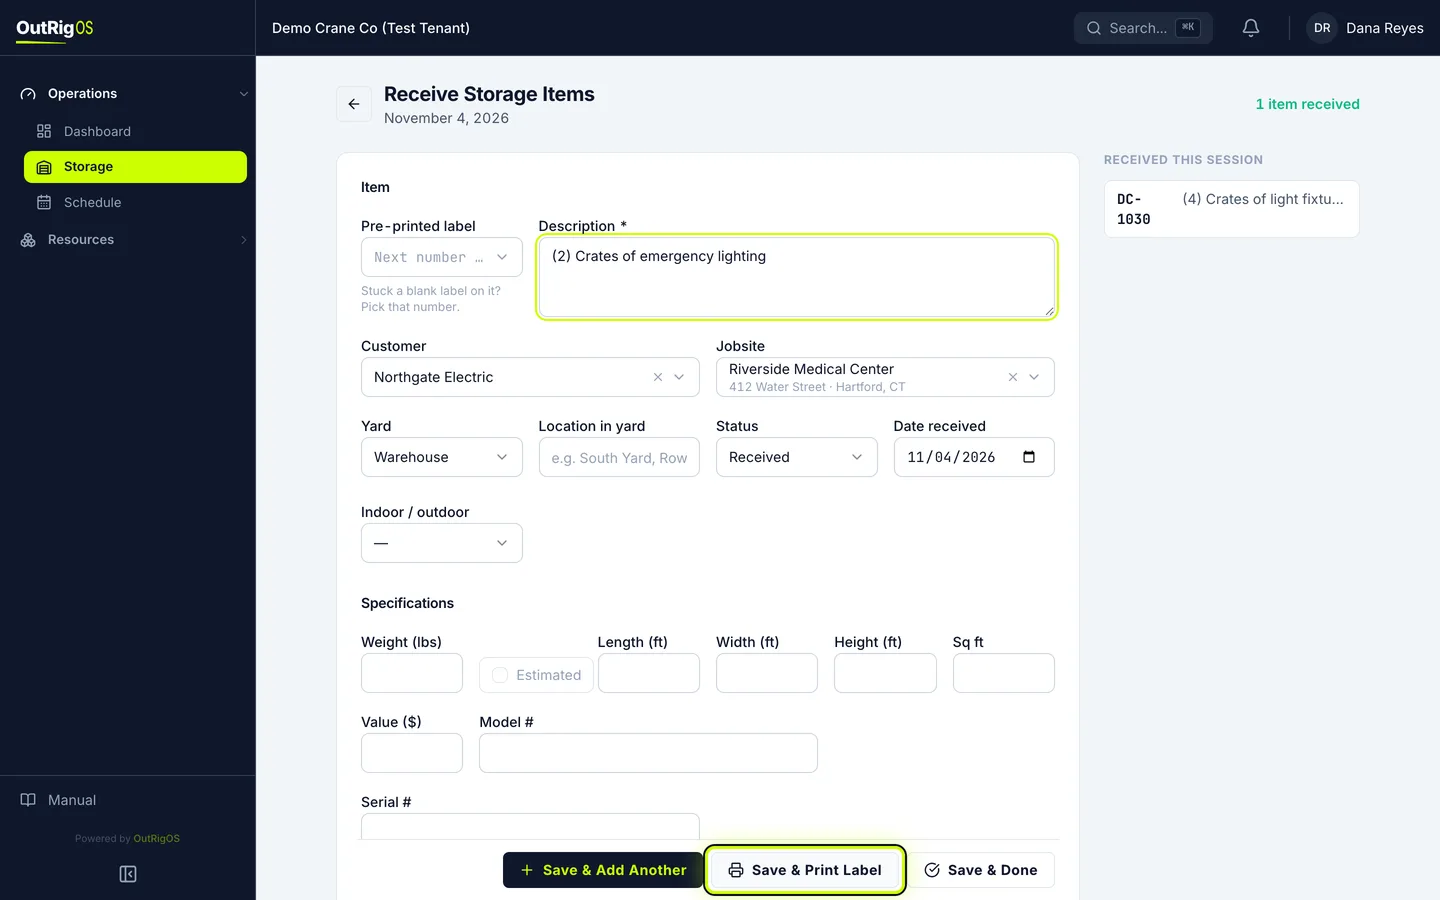
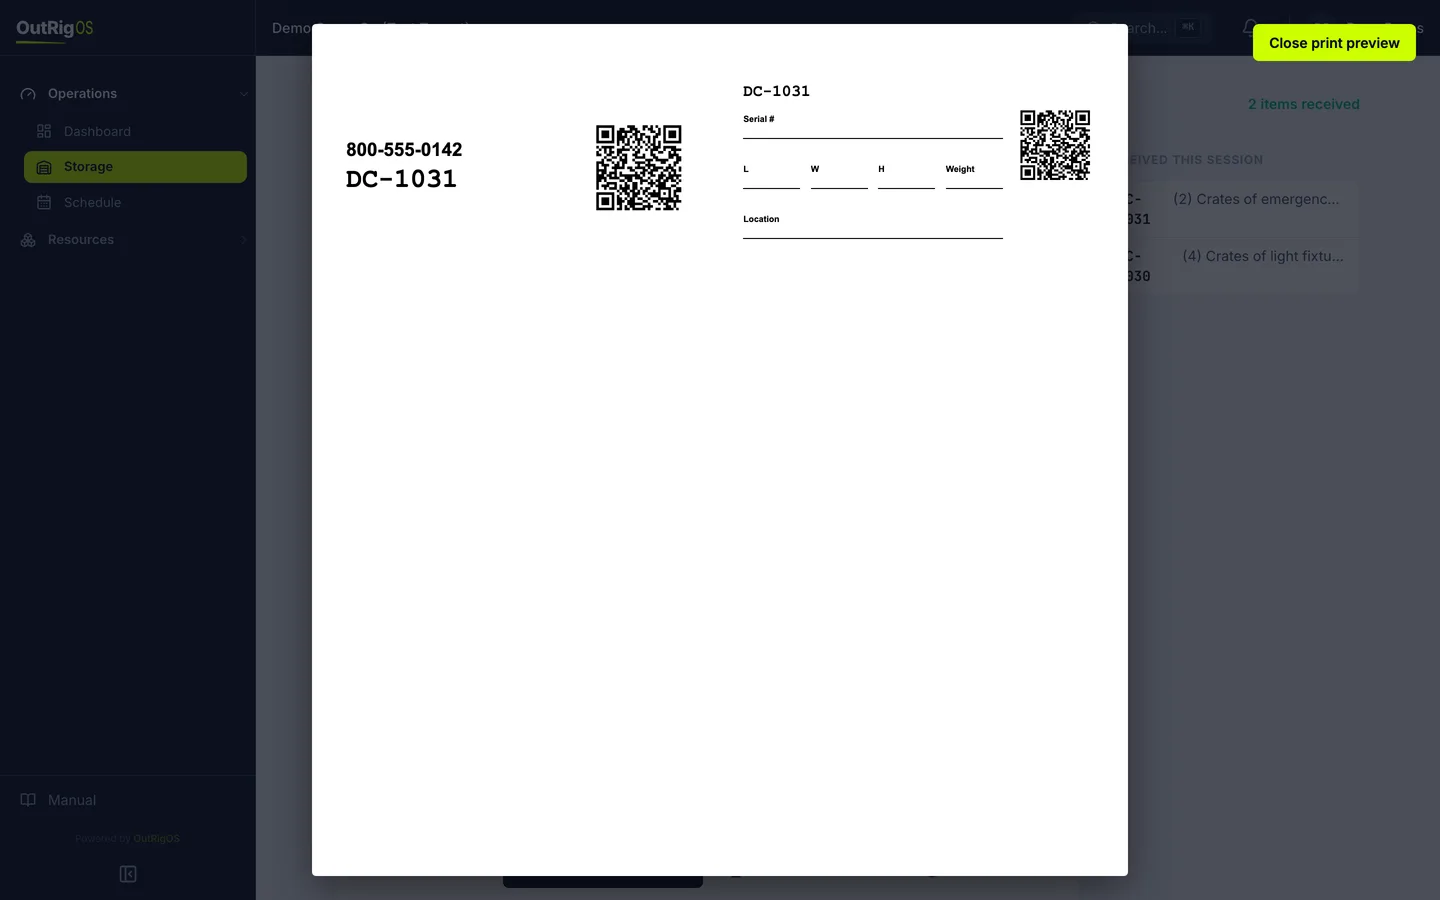
Print its stickers
Your browser’s print window opens with a pair of stickers: one for the crate and one for the paperwork. Print at 100%, with no “fit to page”.
Finish up
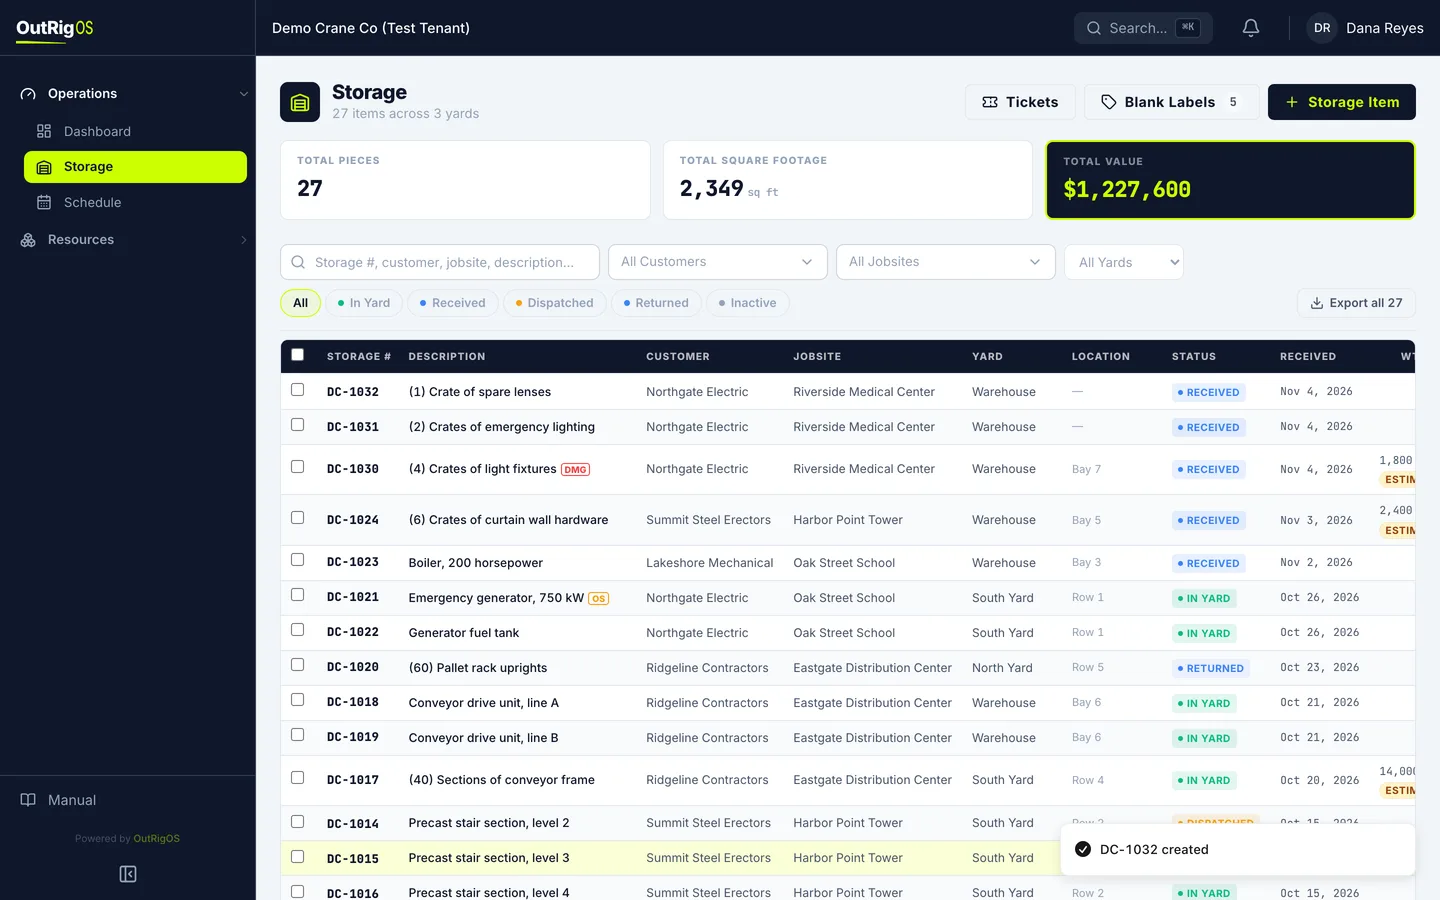
For the last piece, click Save & Done. You land back on the list, with your new items at the top.